Did you know your trusty Dutch oven can double as a slow cooker, turning simple ingredients into tender, flavorful meals with minimal fuss? if you love the low-and-slow magic of slow cooking but don’t have an electric slow cooker handy, this kitchen multitasker might just be your new best friend. Using a Dutch oven to mimic slow cooker results is not only possible-it’s a game-changer for anyone juggling busy days but craving homemade comfort food.Weather you’re cooking paleo, gluten-free, or just hunting for easy, delicious meals that practically cook themselves, knowing how to adapt your Dutch oven can save you time, counter space, and effort. Stick around, and I’ll share practical tips, simple steps, and a few insider secrets to get that perfect slow-cooked texture and flavor-no fancy gadgets required. Cooking with your Dutch oven as a slow cooker means embracing a flexible, satisfying way to prepare meals that nourish your body and soul-without the stress. Ready to turn up the heat on your slow cooking game? Let’s dive in!
Table of Contents
- Understanding the Dutch Oven vs. Slow Cooker Difference
- Simple Steps to Convert Dutch Oven for Slow Cooking
- Best Heat settings for Slow Cooking in a dutch Oven
- Top Slow Cooker Recipes Perfect for Dutch Ovens
- How to Adjust cooking Times When using a Dutch Oven
- Essential Tips for Maintaining Moisture and Flavor
- Dutch Oven Accessories That Boost Slow Cooking Results
- Troubleshooting Common Slow Cooking issues in Dutch Ovens
- Healthy and Comfort Food Ideas for Slow Dutch Oven Meals
- Cleaning and Caring for Your Dutch Oven After Slow Cooking
- Frequently Asked Questions
- Q: How long should I preheat my Dutch oven before slow cooking? A: It’s best to preheat your Dutch oven for about 10-15 minutes on low to medium heat before adding ingredients. This helps to create an even cooking environment similar to a slow cooker.Preheating prevents sticking and ensures consistent slow cooking, enhancing flavor and tenderness. Q: Can I use my Dutch oven for overnight slow cooking safely?
- Q: What kind of lid should I use on my Dutch oven to replicate slow cooker results?
- Q: Is it better to cook a Dutch oven slow-cooked meal on the stovetop or in the oven?
- Q: Can I substitute a slow cooker recipe’s liquid amounts when using a Dutch oven?
- Q: How can I avoid burning food when using a Dutch oven as a slow cooker?
- Q: What types of meals cook best in a Dutch oven when slow cooking?
- Q: How do I monitor temperature without a slow cooker’s settings when using a Dutch oven?
- Key Takeaways
Understanding the Dutch Oven vs. Slow Cooker Difference
Imagine turning your trusty Dutch oven into a slow cooker-yes, you can do that! Both tools are champion multitaskers in the kitchen, but each has its own culinary personality and quirks. Dutch ovens, especially the heavy, enameled cast iron ones, are like the versatile old friends who can hang out on the stove, jump into the oven, or simmer gently for hours. Slow cookers, by contrast, are the laid-back slowpokes designed to take food from raw to tender with minimal fuss over hours, making them the perfect “set it and forget it” partners.
The key difference boils down to heat control and cooking environment. Slow cookers rely on consistent low heat from an electric source, regulated to keep food safely cooking all day without burning or drying out. In contrast, Dutch ovens require a bit more hands-on attention because you’re managing stove or oven heat manually. This means your dutch oven gives you more control over browning,deglazing,and texture-things that slow cookers just can’t do as well. From my own kitchen escapades, I’ve found that while a slow cooker is a champ for soups and stews that just need a long soak, the Dutch oven shines when you want your meal to develop those caramelized layers and deepen in flavor with a quick sear before the slow cook.
Why bother Converting One into the Other?
Well,a Dutch oven masquerading as a slow cooker can be a game changer,especially if you don’t have the countertop space or prefer the rustic charm of cast iron. It’s also fantastic for gluten-free or paleo diets as you can easily adapt your favourite slow cooker stew or chili recipes with whole food ingredients-no added processed junk required. Plus, it’s perfect if you’re the type who likes to peek at your food mid-cook, fiddle with herbs, or adjust seasoning halfway through. The best part? You can achieve that comforting “slow-cooked” tenderness and rich flavor but on your stovetop or oven without needing one more plug-in appliance.
What to Keep in Mind When Swapping Between Them
- Slow cookers usually hug food at around 190-210°F on low and 280-300°F on high, while Dutch ovens can handle a wider heat spectrum, so you’ll need to slightly adjust cooking times and temp settings (more on that later!)
- The sealed environment matters: Dutch ovens have tight lids that lock moisture in like a slow cooker, but openings or lifting the lid too ofen will release heat and slow the process.
- Because Dutch ovens sit on active heat sources, stirring and browning are easier-great news if you love layering flavors right in one pot.
So if you enjoy the slow cooker’s ease but crave the richer flavors and textural play a Dutch oven brings, understanding these distinctions is the first step to making your favorite recipes sing. It’s a bit like getting the best of both worlds without cluttering the kitchen or missing out on that cozy,hearty comfort food vibe we all love.
For gluten-free, paleo-pleasant stews or classic pot roasts, using a Dutch oven as your slow cooker surrogate also means cleaner cooking-just slow, tender love without extra devices but all the rewards. Cook smart, eat happy, and remember: the goal is delicious food that fits your life, with a little kitchen fun along the way!
Simple Steps to Convert Dutch Oven for Slow Cooking
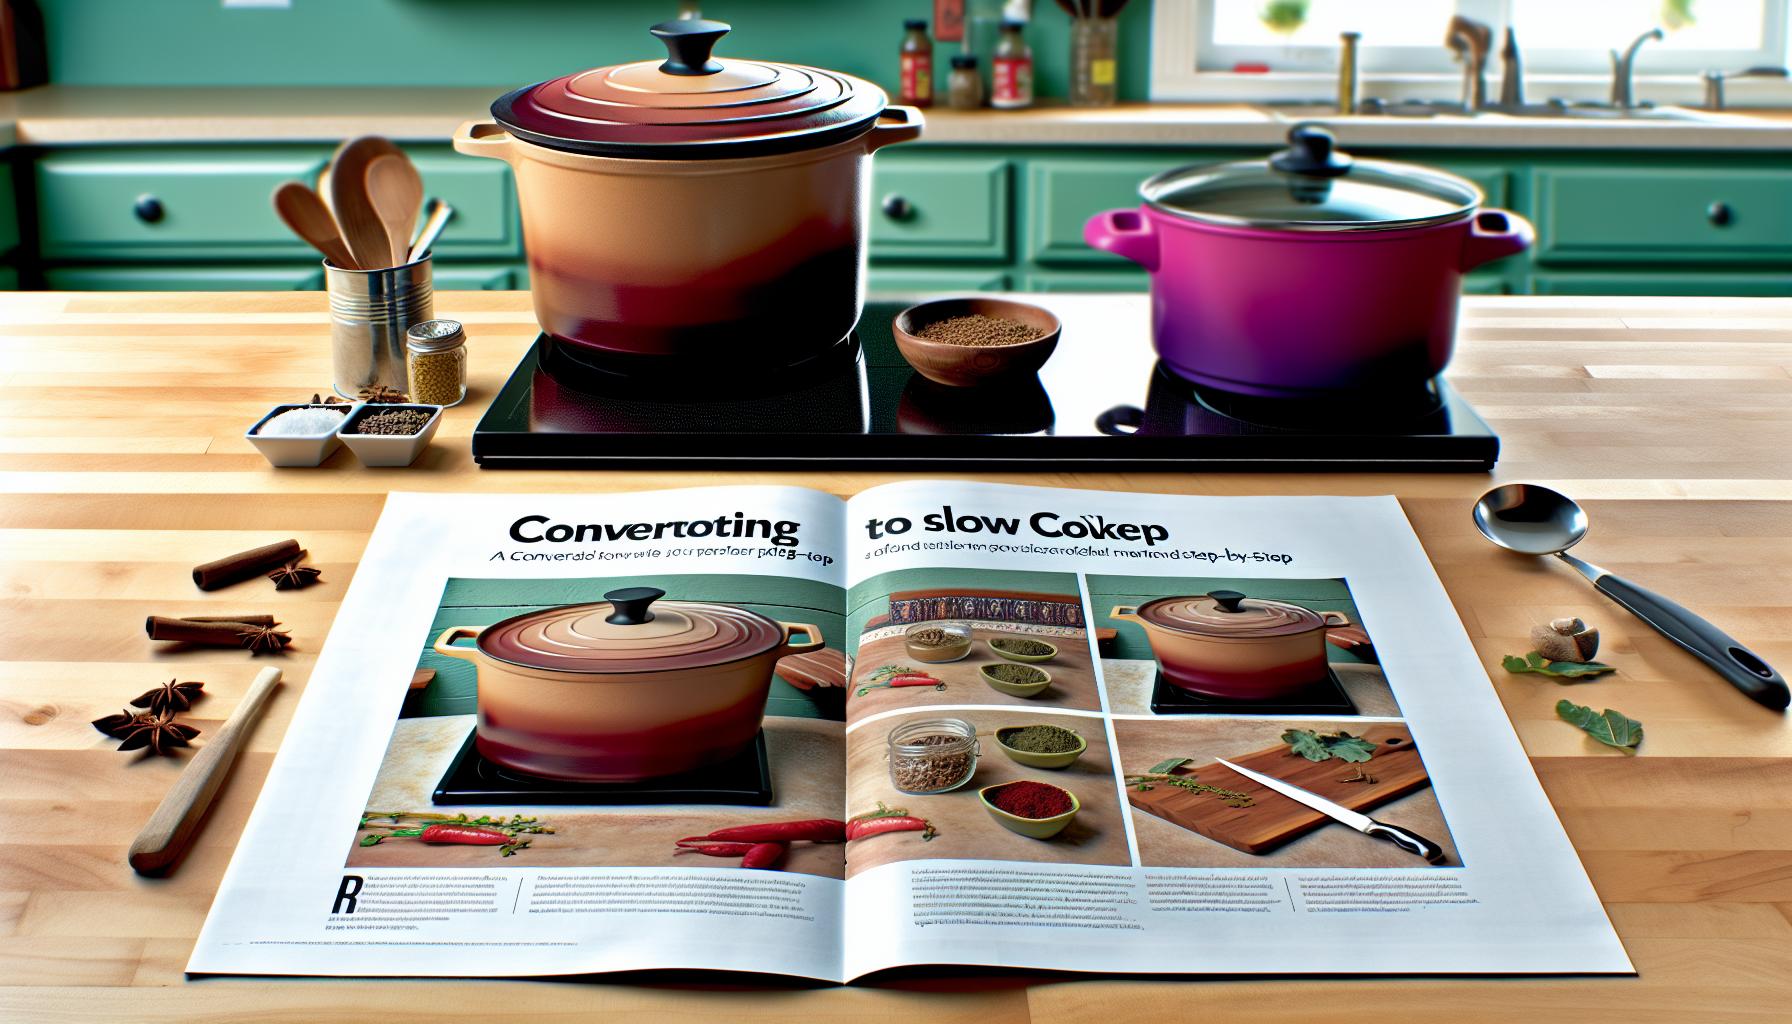
Ther’s a special kind of magic in using a Dutch oven for slow cooking-it’s like taking the slow cooker’s cozy vibe and dialing up flavor with that classic cast iron charm. If you don’t have a slow cooker handy or just love the hands-on fun of stovetop or oven cooking, this simple conversion brings slow-cooked tenderness and rich depth to your kitchen without any extra gadgets. Plus, enameled Dutch ovens are perfect for gluten-free and paleo meals as you can see, smell, and taste every step while keeping ingredients pure and whole. Ready to make this happen? Here’s how to get started with confidence and zero stress.
First, choose a heavy, preferably enameled cast iron Dutch oven about 5 to 7 quarts in size-that’s the sweet spot for most slow cooker recipes. Why? Because it holds heat evenly and locks in moisture like a slow cooker lid does, helping your food braise gently without drying out[[[2](https://www.zulaykitchen.com/blogs/kitchen-tips/how-to-use-a-dutch-oven-as-a-slow-cooker?srsltid=AfmBOoqdvnhLO2Q6lAHOO5J2rLwFVxWomDO4gwVA5FPYr3Nh3SzDzDW3)]. Before diving in, give your ingredients a quick sear right inside the Dutch oven-it’s a fun extra step that slow cookers skip but does wonders for flavor. Browning meat or sautéing veggies first turns a simple stew or chili into a celebration of caramelization and umami.
Once your ingredients are prepped, bring everything together with your usual slow cooker liquid base (think broth, tomatoes, or coconut milk), then cover with the tight-fitting lid. Now, instead of relying on the electric slow cooker’s consistent heat, mimic those low-and-slow vibes by placing your Dutch oven in a low oven (around 200-250°F) or using your stovetop burner on its lowest setting, keeping an eye on the heat so it doesn’t boil or scorch. The goal is a cozy simmer, not a rolling boil. Don’t lift the lid often-keeping it on traps steam and tenderizes your food beautifully.
Quick Steps to Follow
- Sear first: Brown meats or sauté aromatics right in the Dutch oven for deeper flavor.
- Add your ingredients: Place everything inside with liquids,ensuring it’s not overcrowded for even cooking.
- choose your heat: Oven at 200-250°F or stovetop burner on low; keep the temperature steady and gentle.
- Cover tight: use the lid to lock in moisture, and resist the urge to peek too much.
- Check occasionally: Stir once or twice, especially if cooking on the stovetop, to prevent sticking and distribute heat.
Remember, slow cooking in a Dutch oven isn’t just a kitchen hack-it’s also a flexible, nurturing process that lets you play with textures and flavors more than a conventional slow cooker. Think of it as your rustic, no-fail slow-braising buddy who’s perfect for those cozy stews, pulled pork, or paleo-friendly dishes where every ingredient shines. Plus, when life gets busy, you can even prep your meal the night before, refrigerate it in the Dutch oven, and then pop it into the oven the next day-a real time-saver with that homey slow-cooked taste bubbling away.
So, whether you’re channeling your inner comfort-food chef or adding a new trick to your culinary toolbox, these simple steps will have you slow cooking like a pro with your Dutch oven in no time. It’s a joyful way to serve up wholesome meals that feel like a warm hug-no matter your diet or schedule!
Best Heat settings for Slow Cooking in a dutch Oven
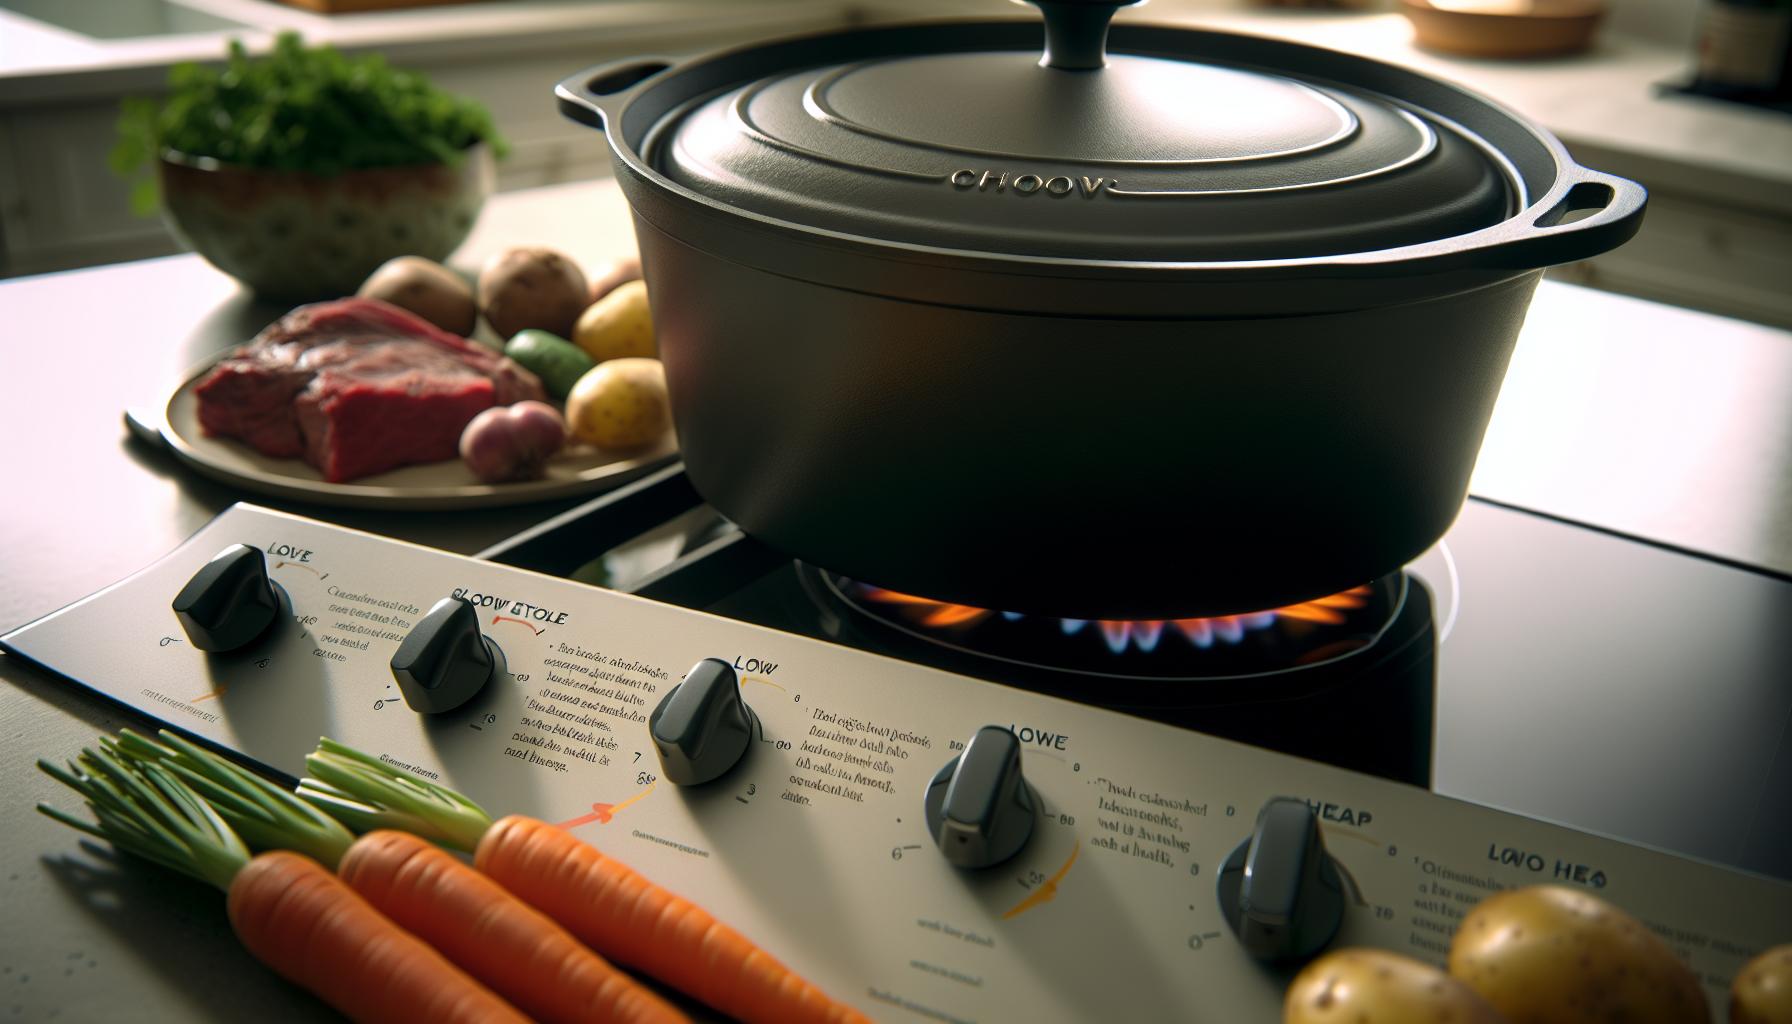
Cooking low and slow in a Dutch oven is like telling your food a gentle bedtime story-slow enough to coax out flavors and tenderize tough cuts, but without sending it into an overheated frenzy. The trick lies in mastering the right heat settings to mimic that perfect slow cooker vibe, where things bubble softly and aromas swirl up seductively. Since Dutch ovens are heavy,thick,and great at holding heat,your goal is steady,moderate temperatures to avoid scorching or drying out your dish while still unlocking that rich,melt-in-your-mouth magic.
For oven cooking, aim for a comfy range between 200°F and 250°F (93°C to 121°C). This “low and slow” window ensures that your ingredients simmer gently, allowing collagen in meats to break down and veggies to sweeten perfectly.Here’s a little kitchen secret: turning the Dutch oven occasionally (especially if your oven has hot spots) helps distribute heat evenly so nothing overcooks on one side. Plus,resist the temptation to crank up the temperature if your dish isn’t “fast enough.” Slow cooking isn’t a race; it’s a marathon with a delicious finish line!
On the stovetop, where direct heat can be trickier to control, keep your burner on its lowest setting and use a diffuser if you have one to soften the flame’s intensity. The goal is a barely-there simmer, where you see only the faintest bubble breaking the surface. since stovetops vary a lot, it’s good practice to nudge the heat down if you catch any aggressive boiling or sputtering sounds-these are red flags your precious meal is crying out for gentler treatment. A tight-fitting lid will help trap moisture and create a cozy steam bath, so you can enjoy juicy results every time.
- Oven temperature: 200°F to 250°F (93°C to 121°C)
- Stovetop heat: Lowest burner setting, possibly with a heat diffuser
- Cooking duration tip: longer at lower heat = better texture and flavor
Balancing Heat and Timing: Personal Kitchen Stories
I’ve lost count of how many hearty paleo stews and gluten-free chilis started out with a sizzling sear on the Dutch oven base, only to move into a patient oven nap at 225°F. The difference this makes is stunning-meats melt,spices mingle,and the kitchen smells like a warm hug on a chilly night. If I’m using the stovetop on a busy weekday,the low setting plus occasional gentle stirring is my go-to approach. It keeps dinner underway while letting me grab a coffee break or deal with homework battles.
Remember, your Dutch oven can handle these gentle heat ranges like a champ, but it’s not an instant gratification device. Think of it as your slow-cooking teammate with a cozy cast iron hug, rewarding patience with deeply layered flavors and tender bites that stick around in memories. And if life throws a curveball, prepping ingredients the day before and finishing the slow cook in your Dutch oven is a pro tip for effortless homemade comfort food any night of the week.
Top Slow Cooker Recipes Perfect for Dutch Ovens
There’s something deeply satisfying about settling in for a slow-cooked meal where every ingredient has had time to meld into a harmonious, rich flavor. Dutch ovens shine at this,offering that ideal heavy,heat-retentive environment that makes slow cooking a breeze-even for dishes that take their sweet time to reach perfection. From cozy stews to vibrant chilis,the best part is that these recipes effortlessly transition from slow cooker to Dutch oven,frequently enough producing even more flavorful results thanks to that cast iron magic.
If you’re looking for go-to crowd-pleasers that work wonders in your Dutch oven, think classic recipes with a modern, wholesome twist. Take a gluten-free beef stew, for example. With just a quick sear of the beef to lock in juices, toss in root veggies, aromatic herbs, and a splash of broth or paleo-friendly wine substitute, then let it nap gently at 225°F for a few hours. The result? Fork-tender meat softened by collagen breakdown, soaked in a silky, savory sauce. And yes, it’s perfect for those paleo or gluten-free lifestyles-no fancy ingredients, just hearty, honest food that warms the soul.
Simple Slow Dutch Oven Favorites That Never Fail
- Paleo Chicken and Vegetable Soup: Prep time 15 mins, cook time 4 hours, easy. use bone-in chicken thighs, your favorite seasonal veggies, and fragrant herbs.Let it simmer slowly for a broth rich in flavor and nutrients-bonus points for leftover reheats that taste even better the next day!
- Hearty Chili (Gluten-Free, Paleo-friendly): Prep time 20 mins, cook time 6 hours, moderate effort. Swap beans for extra veggies or lean ground turkey.Slow cooking balances spice and sweetness while tenderizing meat to perfection.
- Vegetarian Lentil Stew: Prep time 10 mins, cook time 3 hours, very easy. This one adapts beautifully to Dutch ovens because lentils soak up seasoning deeply during the slow simmer phase. Toss in carrots, celery, and a dash of smoked paprika for that cozy warmth.
I love keeping things flexible, so when time’s tight, I’ll prep ingredients the night before, refrigerate them in the Dutch oven, then slide it into a preheated oven the next day. No stress, just pure, easy comfort. Also, don’t be afraid to experiment with swaps-if you’re paleo but need a shortcut, coconut aminos can replace soy sauce, or cauliflower rice can sub for grains. The Dutch oven’s forgiving nature means it handles tweaks like a champ,and your taste buds will hardly notice the difference.
Whether you’re feeding a family or meal prepping for the week,these recipes offer solid foundations that you can dress up with your favorite spices or seasonal additions. Plus, dutch ovens lend an unbeatable rustic charm to slow cooking-like passing down a warm kitchen hug to every hungry soul at your table. Happy cooking and savor every slow, savory bite!
How to Adjust cooking Times When using a Dutch Oven

Slow cooking in a Dutch oven is like giving your meal a loving, gradual hug, but timing is everything. Unlike electric slow cookers, Dutch ovens rely on your stovetop or oven’s heat setting, and subtle differences here can turn a perfectly tender stew into an overcooked mush or a tough, underdone dinner. The trick? Adjusting your cooking times thoughtfully to match the steady, radiant heat your Dutch oven provides.
generally, when converting slow cooker recipes to your Dutch oven, expect cooking times to be about 25-30% shorter if you’re using an oven set at around 225°F to 250°F (107°C to 121°C). Why? Because Dutch ovens hold and conduct heat intensely through their cast iron walls, gently but efficiently cooking throughout. For stovetop, use the lowest possible heat and consider a diffuser to prevent hotspots. Remember, slow means steady-not simmering furiously, so aim for a gentle, consistent bubble.
Practical Timing Tips for Slow Dutch Oven Cooking
- Start Low, Check Early: Begin with the lower end of your adjusted time range, then check texture and tenderness. If proteins feel too firm or veggies aren’t breaking down,add another 30-60 minutes.
- Watch Liquid Levels: The Dutch oven’s tight-fitting lid keeps moisture locked inside, so you might need slightly less liquid than slow cooker recipes call for. Less evaporation means flavors concentrate faster, which can effect timing.
- Use a Thermometer: For meats, internal temp is the surest doneness clue. Aim for collagen-rich cuts (like chuck roast at 195°F+) that become silky with time but avoid drying out.
- Batch Size Matters: Larger quantities may require extra time but generally maintain that slow cooker vibe-you’ll just love that richer depth from extended simmering.
Personally, I treat slow cooking like a lazy Sunday stroll rather than a sprint. Such as, a paleo-friendly beef stew that calls for 8 hours on low in a slow cooker can comfortably become a 6-hour tender, soul-warming hug inside my Dutch oven at 250°F. Bone-in chicken thighs for soup? I nudge down from 6 hours to 4,yet still get that melt-off-the-bone goodness.It’s all about trusting your nose, a gentle poke with a fork, and a steady heat source.
| Dish Type | Slow cooker Time | Dutch Oven Time (225-250°F Oven) |
|---|---|---|
| Beef Stew (Paleo/Gluten-Free) | 8 hours low | 5.5 – 6.5 hours |
| Chicken Vegetable Soup | 6 hours low | 3.5 – 4.5 hours |
| Vegetarian Lentil Stew | 4 – 5 hours low | 3 – 3.5 hours |
| hearty Chili (Bean-Free) | 6 – 8 hours low | 4.5 – 6 hours |
By thinking about heat as a slow, even simmer-not a boil-you’ll keep that moisture and flavor locked in, just like the slow cooker formula, only with that lovely caramelized edge you get from the Dutch oven’s magic. If you’re ever pressed for time, feel free to gently raise the oven temperature to 275°F but for shorter periods, stirring occasionally to avoid burning bottom layers. Just keep in mind this speeds things up-not the same as cranking your stovetop burner to high.
So next time your slow cooker sits lonely in the cupboard, grab your Dutch oven, adjust your clock a little, and dive into that comfy, slow-cooked feast. Your taste buds-and your busy schedule-will thank you in equal measure.
Essential Tips for Maintaining Moisture and Flavor
There’s a certain magic in how a Dutch oven holds onto moisture, making your slow-cooked dishes sing with deep, layered flavors. unlike those electric slow cookers that steam off some liquid during cooking,the Dutch oven’s snug lid traps steam and juices,turning what starts as simple ingredients into succulent,melt-in-your-mouth meals. But that’s also where the delicate balancing act begins-too little liquid, and your food might dry out; too much, and you could end up with a watery stew rather of a rich, comforting hug in a bowl.
One practical trick I swear by is starting with just a bit less liquid than slow cooker recipes call for. The heavy cast iron absorbs and redistributes heat like a champ,so the moisture doesn’t evaporate as quickly. This means flavors get more concentrated, and your broth feels silky instead of diluted. That said,don’t be shy about checking in halfway through,especially if you’re trying a new recipe. A quick lift of the lid to peek-don’t forget to do it gently and mostly keep it closed-and a little stir can save the day if things look a bit dry or too soupy.
balancing Your Liquids and Layers
- Use flavorful broths or stocks: Starting with something rich rather than just water gives an instant boost and layers that deepen over hours.
- Chunk size matters: Larger chunks of veggies hold up better and release less water than finely diced ones, helping maintain the perfect stew consistency.
- Add salty or acidic ingredients at the right time: Tomatoes, lemon juice, or vinegar brighten the dish but can toughen proteins if added too early. I add these toward the last hour of cooking for balance and zing.
As the Dutch oven heats from all sides, it’s also worth remembering that those caramelized edges so beloved in braises and stews are there for a reason. They add complexity you just won’t get from a typical slow cooker. To harness that beauty, briefly searing meats or sautéing aromatics like garlic and onions before the slow cook can jump-start flavor progress. It’s a little extra step that pays off big, especially for paleo or gluten-free dishes where every ingredient has to sing.
If you’re the kind of cook who likes to experiment or tweak, consider sprinkling fresh herbs or finishing ingredients like chopped parsley or a drizzle of good olive oil right at the end. These freshness hits keep your slow-cooked meal feeling vibrant and multi-dimensional even after hours in the heat. Trust me: a final sprinkle does wonders to brighten flavors and make every bite feel celebrated and alive.Cooking slow and low with your Dutch oven is like a culinary meditation.Keep an eye on moisture levels,embrace the gorgeous caramelization,and tune your flavors as you go. Your taste buds-and your busy, flavor-loving soul-will be all the happier for it.
Dutch Oven Accessories That Boost Slow Cooking Results
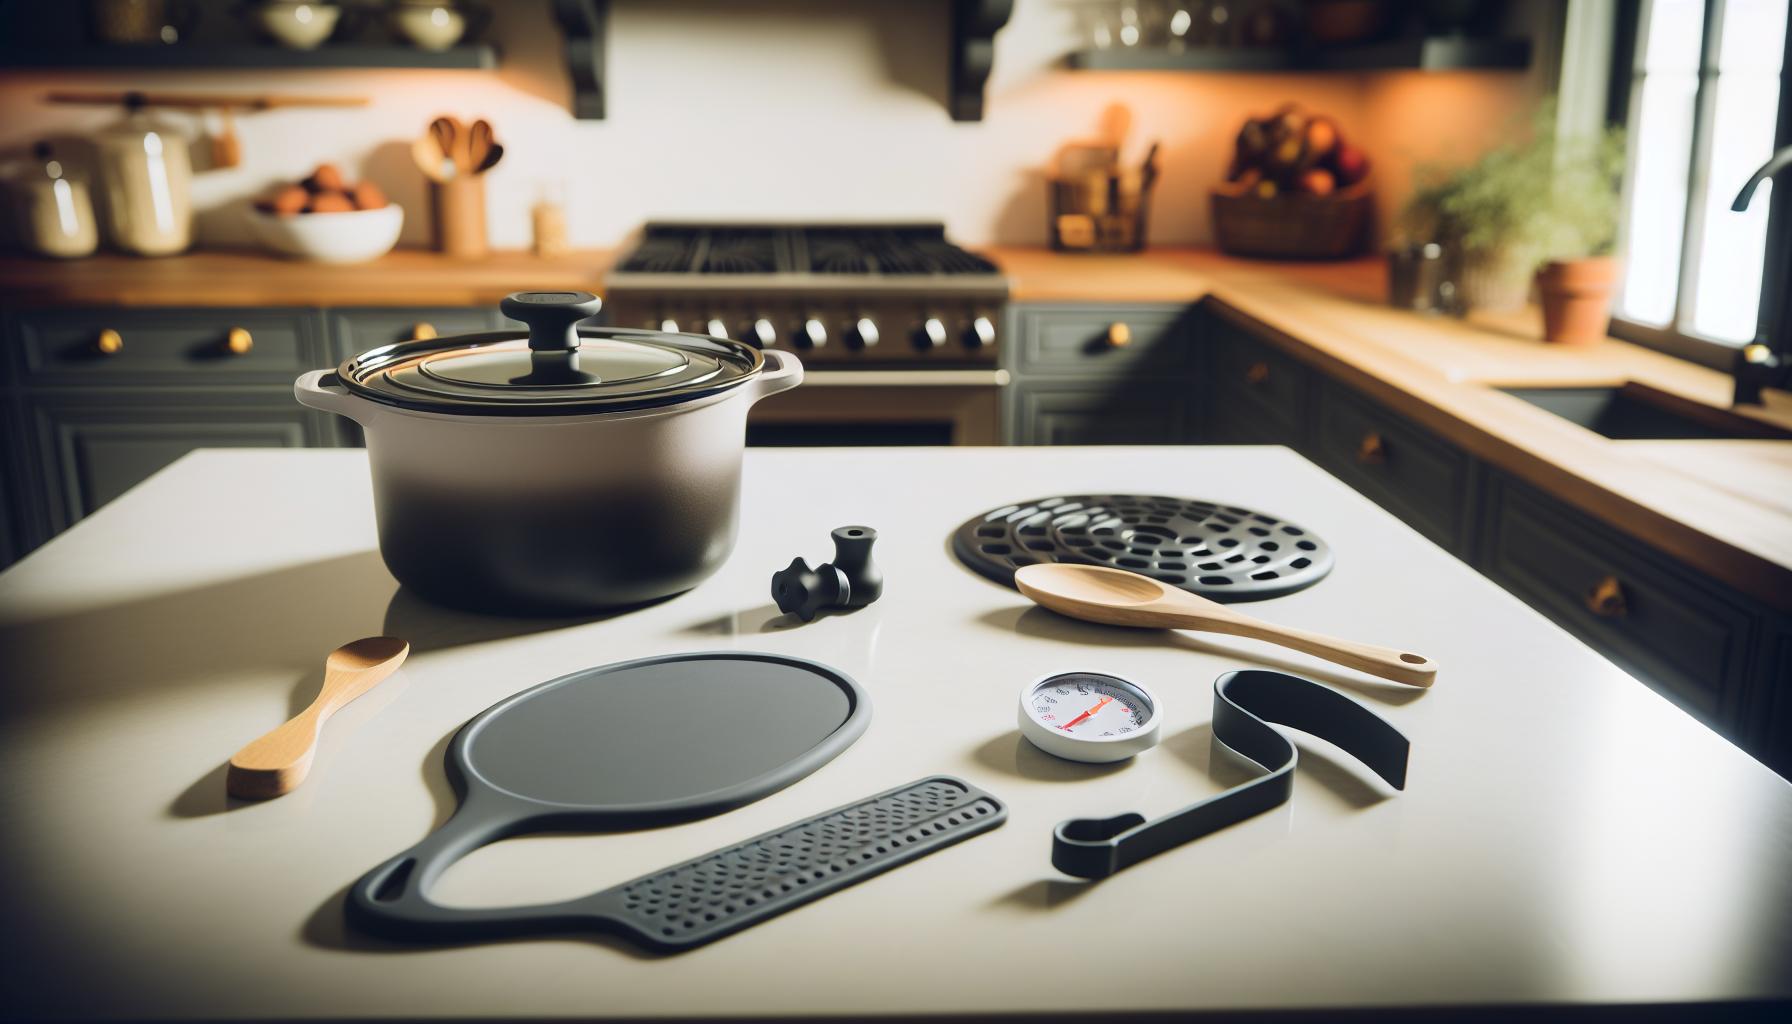
There’s something about cooking slow and steady in a Dutch oven that just begs for a few well-chosen accessories to make your kitchen life easier and your meals even more delicious. While the Dutch oven itself is a superstar-locking in moisture and distributing heat like a champ-a handful of tools can elevate your slow cooking game and help you get the best results without fuss or guesswork.
One of my absolute favorites is a silicone trivet or rack. Placing this inside your Dutch oven lifts ingredients slightly off the bottom, which is especially handy when braising tougher cuts of meat or slow-roasting veggies.It prevents sticking and scorching without compromising that wonderfully rich fond that builds on the bottom-a flavor jackpot you can deglaze into a luscious sauce later. Plus, if you want to keep certain ingredients separate (hello, paleo friends who may want veggies and meats cooked just right), this is your go-to.I often use a trivet when slow-cooking whole chickens or ribs,so they don’t stew in their own juices but get that perfect tender-crisp texture.
A second must-have for slow cooking converts is a heavy-duty oven thermometer.This little gadget is a life-saver when you’re adjusting stovetop or oven heat to mimic the slow cooker’s low-and-slow magic. Dutch ovens aren’t electric babysitters, so knowing your actual cooking temperature inside the oven or even on the burner helps avoid drying out your meal or undercooking it. I learned this the hard way after a few “too hot” burns and have since trusted a digital probe thermometer to check temps right through my lid’s vent gap-it’s like having a slow cooker’s thermostat but way cooler and more precise.
Another gem is a well-fitting lid or silicone lid seal if you’re adapting vintage or mismatched Dutch ovens. Even slight gaps can let steam escape, drying out your dish or losing that beautiful concentration of flavors. If you notice your moisture level slipping despite perfect temperature control, a silicone gasket or a heavier lid can seal the deal. Alternatively,wrapping the lid edges in foil during cooking acts as a clever and cheap fix-old-school meets smart kitchen hack! This keeps the steam happily bouncing around your ingredients and helps those broths turn silky smooth.
Bonus Tools That Make Clean-Up and Serving a Breeze
- Silicone or wooden utensils: protect your enameled or seasoned cast iron surface and stir with confidence without scratching or chipping.
- Heat-resistant gloves or mitts: Hands-down, essential for safely lifting hot Dutch ovens, especially when the lid steams up and disguises scorching heat.
- Trivets or sturdy pot holders: To place your hot Dutch oven directly on the table or counter without fuss-bonus points for cute kitchen style points!
Adding these simple but effective accessories to your Dutch oven slow-cooking toolkit makes the whole experience smoother and the results tastier. Plus, they keep your kitchen joyful and accident-free-because the last thing any of us need during cooking magic is extra stress. Whether you’re crafting a cozy paleo stew or a vibrant gluten-free chili, these additions bring out the best while letting you enjoy the process just as much as the final feast.
Troubleshooting Common Slow Cooking issues in Dutch Ovens

There’s a special art to slow cooking in a Dutch oven, but let’s be honest-things don’t always go perfectly the first time around. Maybe your stew ended up a bit dry, or those veggies didn’t quite soften as was to be expected. The good news? Most hurdles have simple fixes and smart tweaks that turn your next try into slow-cooked perfection, paleo- and gluten-free style included.
One classic hiccup is uneven cooking or parts of your dish sticking to the bottom. Unlike electric slow cookers, Dutch ovens need a bit more babysitting with heat distribution. Using a silicone trivet or rack inside the pot can create a little buffer so your ingredients don’t scorch, especially with tougher cuts of meat or delicate veggies. Plus, making sure your heat source is on low and steady keeps things cozy without triggering dry spells. I’ve learned the value of a heavy-duty oven thermometer here-it’s like having a reliable slow cooker thermostat and saved me from “crispy surprise” dinners more times than I care to admit.Another frequent challenge is managing moisture. As Dutch ovens are fantastic at sealing in steam, a tight-fitting lid is your best friend. But if your lid isn’t snug or has gaps,you risk drying out your luscious liquids or losing that simmering magic. If you find your broth getting too thick or meals a bit tough, try sealing lid edges with foil or upgrading to a silicone gasket to trap every precious drop of steam. This trick kept my paleo chicken stew juicy and the flavors singing, without any fuss.
Not quite tender yet? Give these a whirl:
- Adjust your heat: Lower the oven temp or burner setting slightly-slow and low beats high and fast every time.
- Increase cooking time: Dutch ovens cook faster than slow cookers, but some tough cuts need the patience of a saint. Add an extra 15-30 minutes when in doubt.
- Stir occasionally: Gently mix your pot’s contents once or twice (don’t overdo!) to redistribute heat and prevent sinking bits.
Troubleshooting slow cooking with a Dutch oven is all about observing how your unique pot responds, then playing steady kitchen detective. With each simmer and bake, you’ll get better at listening to the smells, textures, and bubbling sounds-because that’s where the magic of comfort food brilliance lives.
Healthy and Comfort Food Ideas for Slow Dutch Oven Meals
There’s something deeply satisfying about sinking a spoon into a slow-cooked meal that’s both nourishing and indulgent, especially when it’s made in your trusty Dutch oven. The magic lies in that perfect blend of wholesome ingredients transformed over hours of gentle heat, making paleo and gluten-free eating not just healthy but downright cozy. Whether you’re craving a hearty breakfast, a soul-soothing dinner, or a snack that feels like a warm hug, the Dutch oven has your back with dishes full of flavor and love.
Hearty Breakfasts to Kickstart Your Day
Mornings in slow Dutch oven mode mean waking up to the smell of baked eggs nestled with veggies and bacon or warming cinnamon-spiced oats that stick to your ribs (in the best way). Try a simple layered breakfast casserole with sweet potatoes, leafy greens, and pasture-raised sausage-all gluten free and ready with about 15 minutes active prep and a few hours on low heat. Pro tip: line the bottom with parchment paper to keep cleanup fuss-free if you’re short on time and patience.If you like to mix it up, swap sausage for smoked mushrooms or sprinkle in sliced almonds for crunch.
Comforting Dinners That Feel Like a Hug
One-pot Dutch oven meals are slow-cooked gems for days when you want your kitchen aroma to do the heavy lifting. A paleo beef stew, for example, combines tender chuck roast, colorful root veggies, and rich bone broth, simmered low and slow till everything practically melts in your mouth. Cooking tip: add hearty greens like kale or spinach in the last 15 minutes so they keep their vibrant color and nutrients without turning mushy. If gluten sneaks into your pantry, substitute traditional flour with tapioca starch to thicken gravies and stews without losing that silky texture.
Snacks and Sides That Steal the Show
Don’t underestimate the power of slow-roasted nuts seasoned with rosemary and sea salt or tender caramelized carrots glazed with a touch of maple syrup-all made hands-off in the oven. These simple additions can turn a basic dinner into a feast of flavors. Plus, tossing in a batch of easy paleo biscuits (almond flour-based, of course) can elevate any slow Dutch oven meal into a celebration-worthy plate. These recipes prove you don’t need hours of prep or elaborate steps for food that feels gourmet.
- Quick recipe idea: Paleo chicken thighs braised with lemons and olives for a bright, bold flavor punch that comes alive in the low heat.
- Speedy swap: Use cauliflower rice as a light side that complements rich stews perfectly without overwhelming your digestive system.
- Bonus tip: Slightly undercook root veggies and let residual heat finish the softening so they keep a pleasant bite and don’t mush into the broth.
Sharing these slow Dutch oven favorites feels like passing along a treasured secret from one home cook to another. Life’s busy, and your meals should be a joy, not a chore. So whether you’re paleo-curious, gluten-intolerant, or just hungry for something warm and satisfying, these ideas bring quality, comfort, and ease right to your table-one slow-cooked meal at a time.
Cleaning and Caring for Your Dutch Oven After Slow Cooking
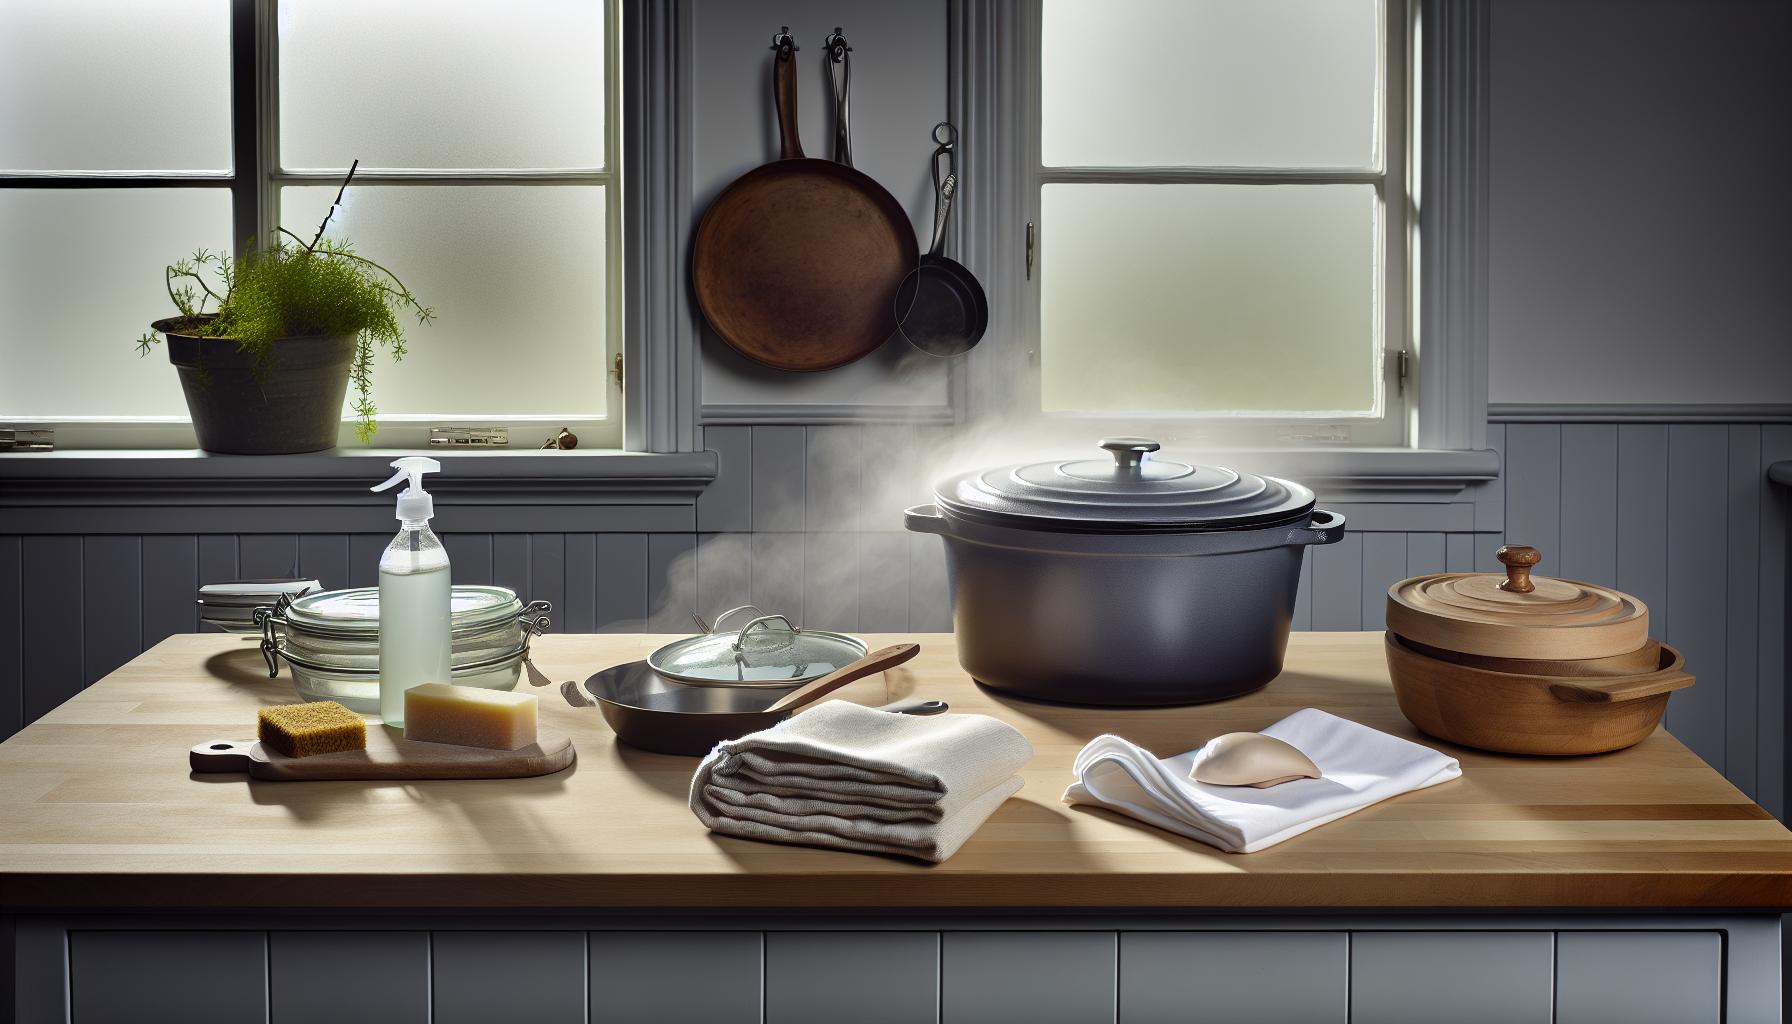
Few kitchen companions are as tough and rewarding as a Dutch oven-especially after it’s done its magic slow-cooking your favorite paleo or gluten-free recipes.But here’s the truth: cleaning up doesn’t have to feel like a punishment. With a little know-how, caring for your Dutch oven can be as soothing as the meals it helps you create, preserving that seasoned charm and keeping your slow-cooked delights tasting just right for years to come.
When mealtime wraps up, resist the urge to throw it into the dishwasher or scrub like you’re auditioning for a kitchen workout video. Instead, let the Dutch oven cool down naturally. Sudden temperature shifts can damage enamel or cast iron, so patience here pays off. Once it’s cool(ish), I usually soak the pot in warm water with a drop of mild dish soap for 10-15 minutes, just enough to loosen stuck bits without taxing your arms or the pot’s seasoning.
Simple Steps to a Sparkling, Well-Cared-for Dutch Oven
- Gentle scrubbing: Use a non-abrasive sponge or brush. For stubborn stuck-on food, a paste of baking soda and warm water makes a gentle yet effective scrubber that respects enamel surfaces.
- Skip harsh tools: Steel wool or metal scouring pads can scratch and ruin that smooth finish, robbing you of years of flavorful cooking adventures.
- Dry thoroughly: Moisture left unchecked invites rust on cast iron exteriors or chipped enamel. I like to towel-dry and then let it air dry upside-down.
- Season if needed: For traditional cast iron (not enameled), apply a thin layer of neutral oil after drying to maintain that prized nonstick surface and prevent rust.
Keep Your Dutch Oven Happy and Healthy
If you’re a slow cooker convert, remember Dutch ovens love gradual heat and gentle treatment, especially after long cooks of hearty bone broths or rich stews. Acidic ingredients like tomatoes or citrus can sometimes leave a slight discoloration, but this isn’t a flaw-just a sign your pot has been put to good, flavorful use. Simply give it a good scrub next time, or better yet, schedule a “spa day” soak with a tablespoon of cream of tartar dissolved in water for about an hour if you want to lift stains and brighten the enamel.
One last newbie tip that always saves me time: if you’re lining your Dutch oven with parchment paper to cut down on cleanup during those busy mornings, peel it out while the pot is still a bit warm but not hot-less mess, less scrubbing, and more time to savor your coffee while the meal continues slow-cooking.
Taking care of such a trusty tool never feels like a chore when you think of all the cozy pasta bakes, braised chicken thighs, or sticky ribs simmered slowly within it. Plus, a little TLC now means every future potluck or weeknight meal starts with a Dutch oven that’s ready to shine, slow-cook, and impress-no fancy gadgets needed. Your kitchen’s greatest slow cooker just got its glow-up!
Frequently Asked Questions
Q: How long should I preheat my Dutch oven before slow cooking?
A: It’s best to preheat your Dutch oven for about 10-15 minutes on low to medium heat before adding ingredients. This helps to create an even cooking environment similar to a slow cooker.Preheating prevents sticking and ensures consistent slow cooking, enhancing flavor and tenderness.Q: Can I use my Dutch oven for overnight slow cooking safely?
A: Yes, you can use a Dutch oven for overnight slow cooking if your stove or oven allows low-temperature settings (around 200-225°F). use a heat diffuser or very low oven heat to mimic a slow cooker’s gentle warmth while preventing burning.Always monitor moisture levels to avoid drying out (see “Maintaining moisture and Flavor” section).
Q: What kind of lid should I use on my Dutch oven to replicate slow cooker results?
A: Use a tight-fitting lid that seals in moisture, just like a slow cooker lid. Cast iron lids are ideal as they trap steam and heat efficiently. If your lid isn’t snug, try sealing edges with foil to retain moisture and slow cook effectively.
Q: Is it better to cook a Dutch oven slow-cooked meal on the stovetop or in the oven?
A: Cooking your Dutch oven slow-cooked recipes in the oven offers more even, consistent heat similar to a slow cooker. The stovetop works but requires careful temperature control and occasional stirring. For hands-off cooking, opt for the oven method at low heat settings.
Q: Can I substitute a slow cooker recipe’s liquid amounts when using a Dutch oven?
A: Yes, reduce the liquids slightly (about 10-15%) when converting slow cooker recipes to a Dutch oven as evaporation is lower inside a sealed pot. This adjustment keeps meals from becoming watery and preserves concentrated flavors (find tips in “Adjusting Cooking Times and Liquids” in the article).
Q: How can I avoid burning food when using a Dutch oven as a slow cooker?
A: To prevent burning, maintain low and steady heat (ideally 200-250°F in the oven or the lowest stovetop setting). Use a heat diffuser on stovetop and avoid opening the lid frequently. Stir occasionally and include enough liquid to ensure even cooking without scorching.
Q: What types of meals cook best in a Dutch oven when slow cooking?
A: Dutch ovens excel with hearty stews, braises, soups, and roasts that benefit from long, slow heat. Dishes like beef stew, chili, or pulled pork develop rich flavors and tender textures. Try recipes from the “Top Slow Cooker Recipes Perfect for Dutch Ovens” section for tested ideas.
Q: How do I monitor temperature without a slow cooker’s settings when using a Dutch oven?
A: Use an oven thermometer inside your dutch oven or oven to track internal temperature accurately. On the stovetop, keep heat low and check food doneness periodically. Mastering these tips helps mimic slow cooker temps and ensures perfect cooking results every time.
Explore these answers alongside our step-by-step “Simple Steps to Convert Dutch Oven for Slow Cooking” guide in the article for smooth, reliable slow cooking at home with your Dutch oven.Enjoy the process and delicious results!
Key Takeaways
Now that you know how to easily transform your Dutch oven into a slow cooker, you’re just a few simple steps away from comforting, hands-off meals that fit any lifestyle-gluten-free, paleo, or classic comfort food. Whether you’re prepping a cozy stew or simple rice, embracing this versatile cooking method gives you control, flavor, and time back in your busy day. Don’t hesitate to experiment with ingredient swaps like bone broth or coconut oil to keep meals both nutritious and delicious.
Ready to dive deeper? Explore our guide on mastering oven-to-table recipes or discover quick Dutch oven breakfasts perfect for meal prep. If you have questions about timing or substitutions, drop a comment below-we love hearing from fellow home cooks navigating simple, wholesome cooking. Don’t forget to sign up for our newsletter to get weekly tips and fresh recipes that make Dutch oven cooking feel like chatting with a fun, kitchen-savvy friend.
Make your kitchen work smarter, not harder, and turn your Dutch oven into the slow cooker you never knew you needed. Your next great meal is just around the corner-start cooking and share your favorites!
Make SabriNasSinlessSecrets.com a Preferred SourceGet our latest guides, news, and insights highlighted in your Google Search & AI Overviews.
✓ Preferred Source Added
Get our latest guides, news, and insights highlighted in your Google Search & AI Overviews.